Jolian
 February 25,2025
Step 1: Agent preparation
1、 Open the Thordata website(https://www.thordata.com/?ls=rHAWAUwE&lk=clon)
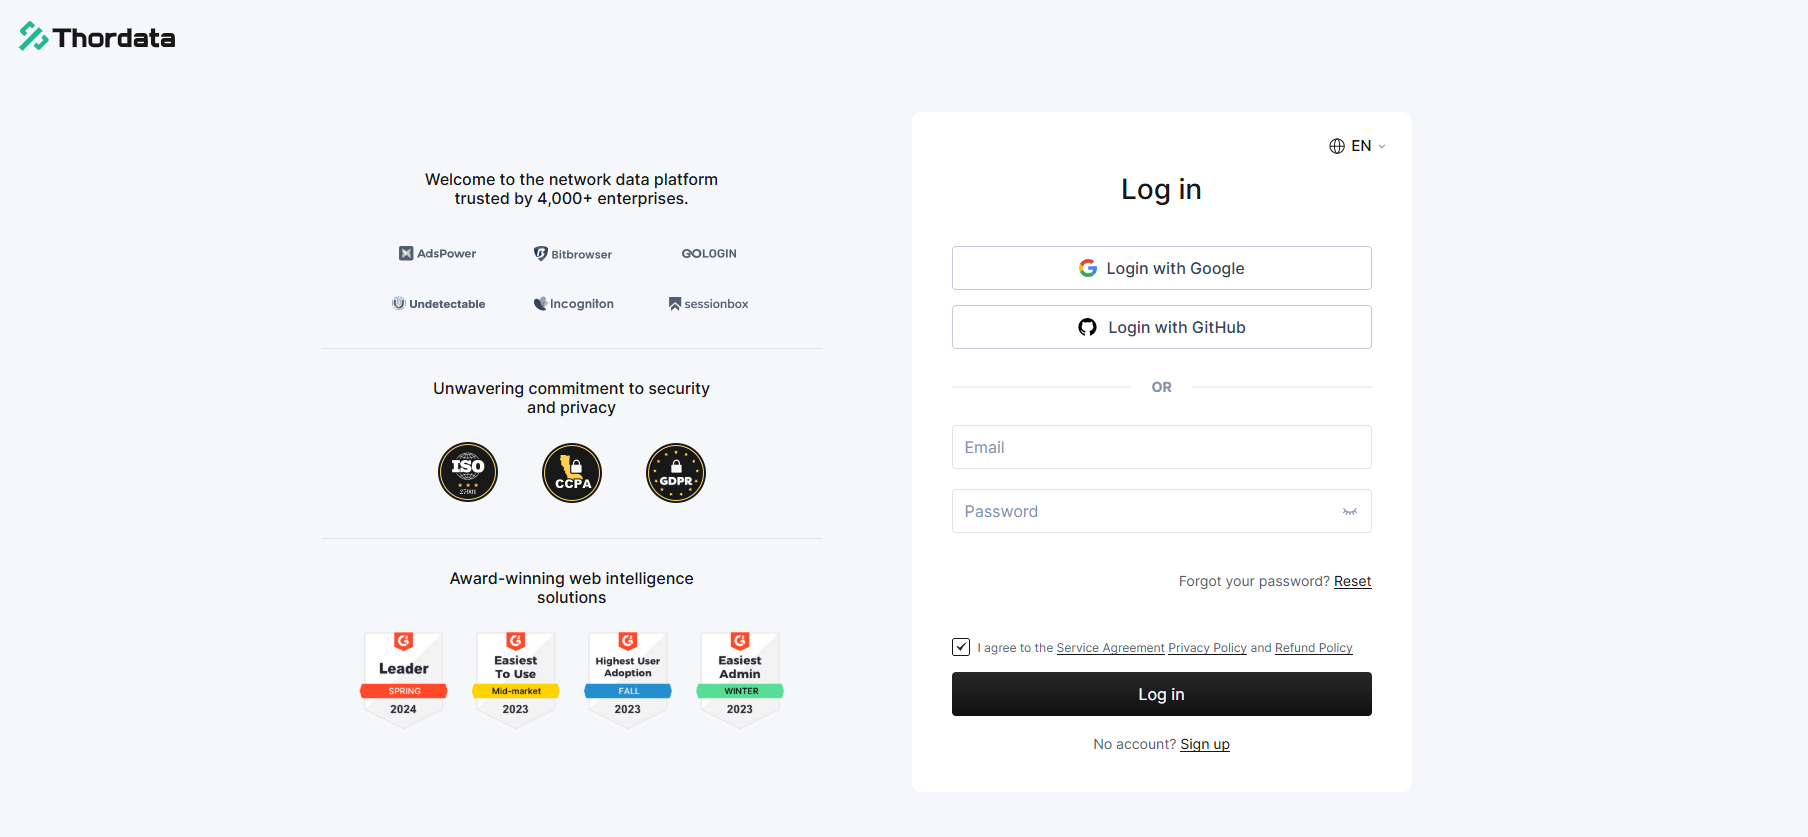
Click Create an account and enter your personal information, click Register to create a successful account | If you have an account, just log in.
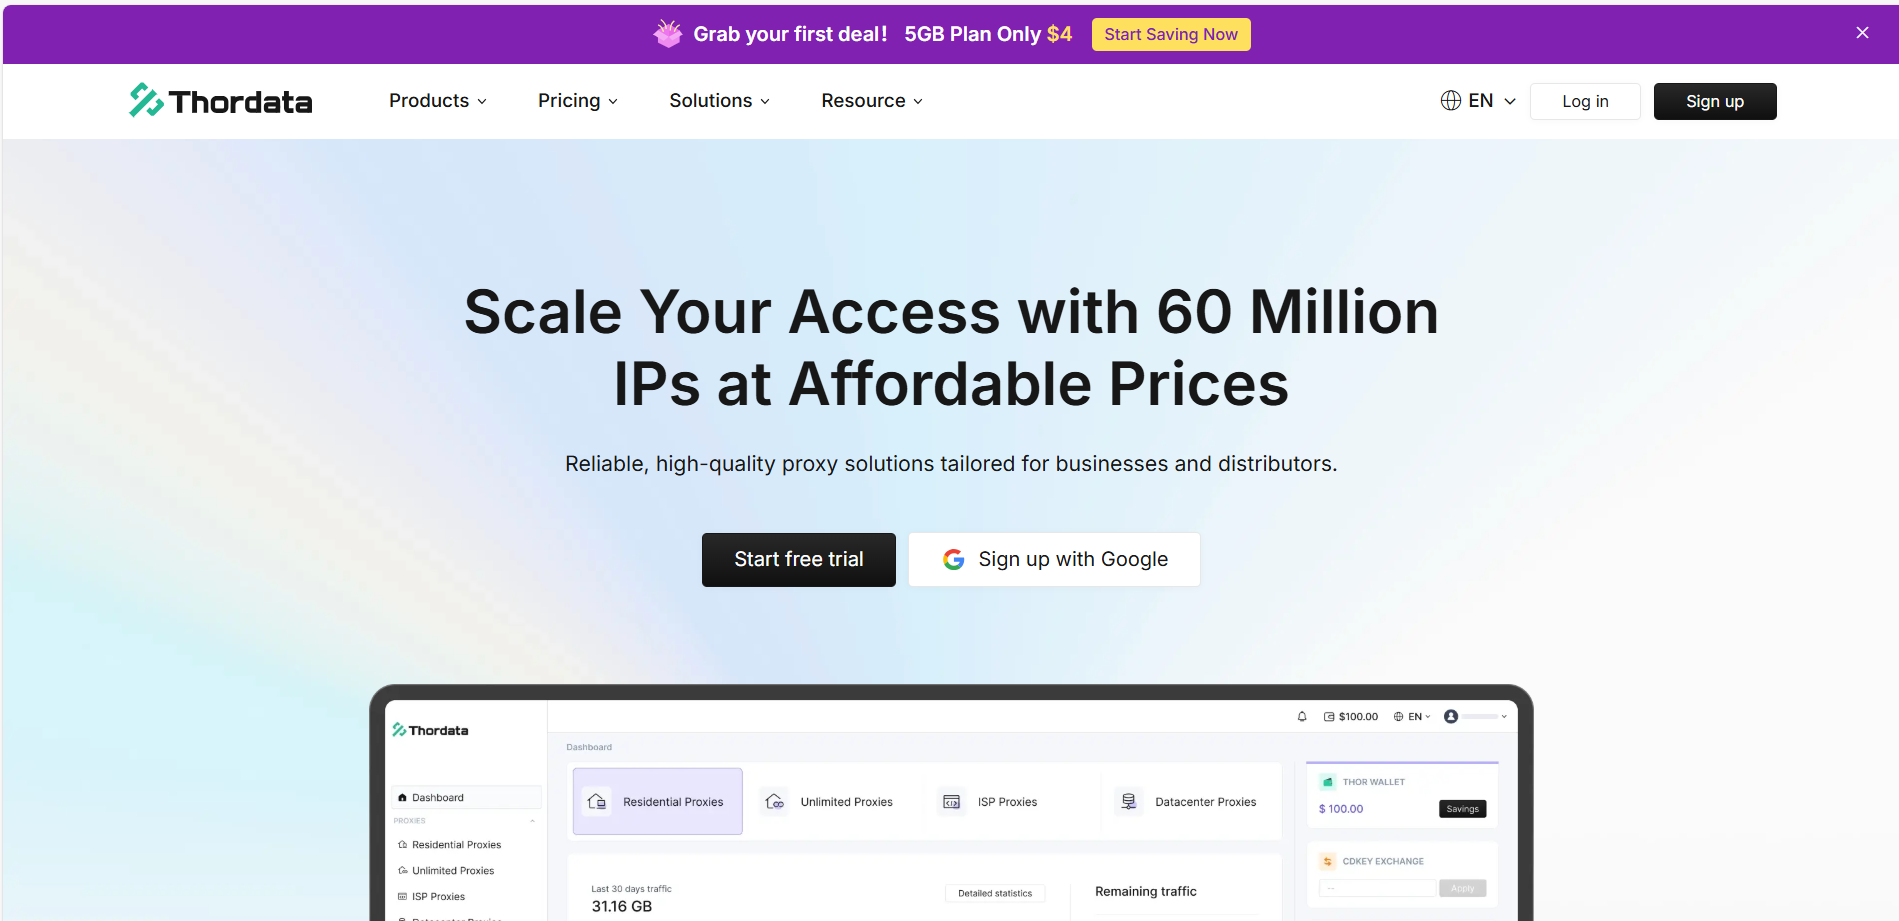
2、After successful registration or login to the homepage, you can select the type of agent for your business needs.
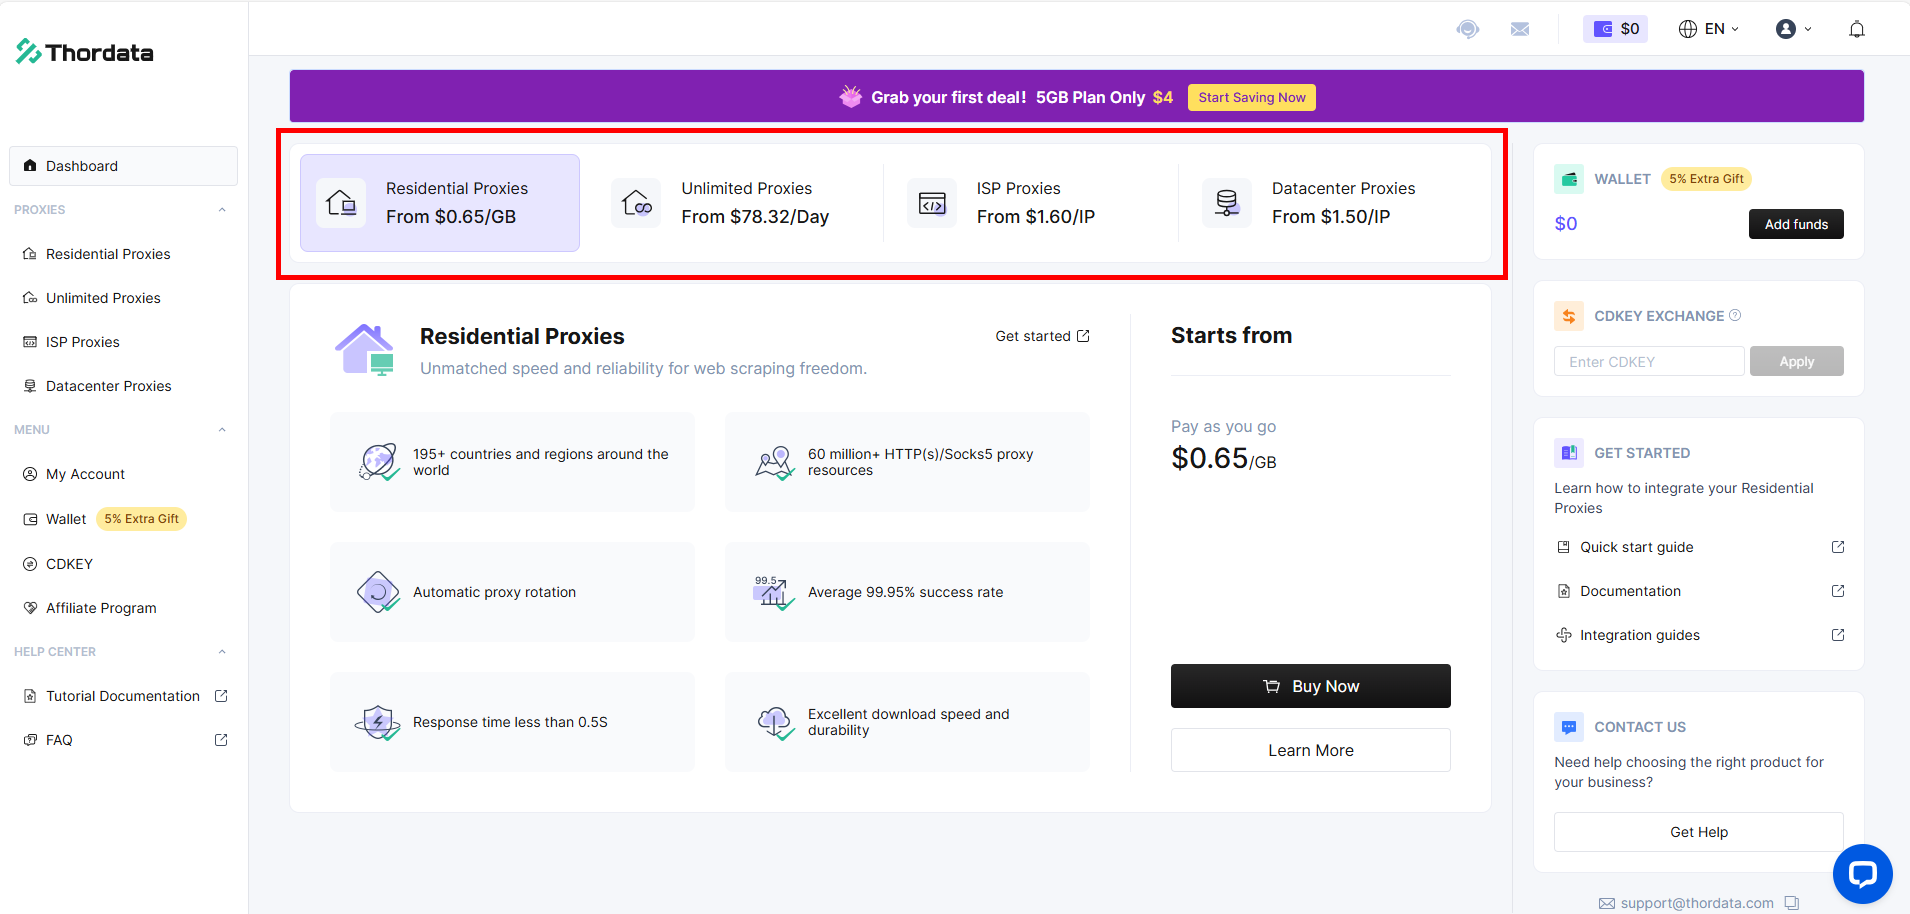
Thordata offers cost-effective solutions for any budget without compromising performance. For enterprise customers with high data usage or specific needs, Thordata offers special pricing for user tasks that require large-scale data capture, and ad verification. Flexible plans allow organizations to process large amounts of data without exceeding their budgets.
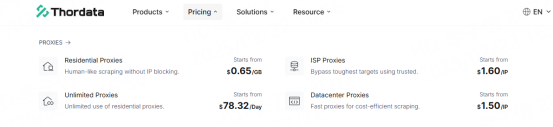
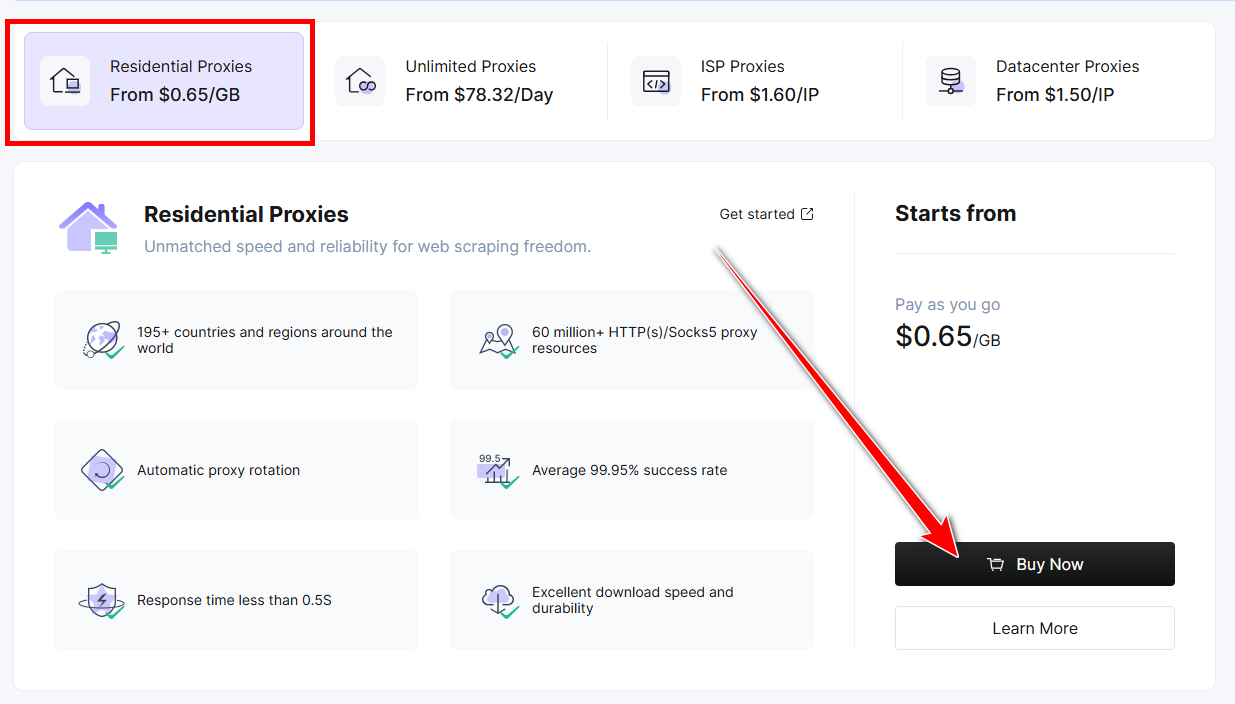
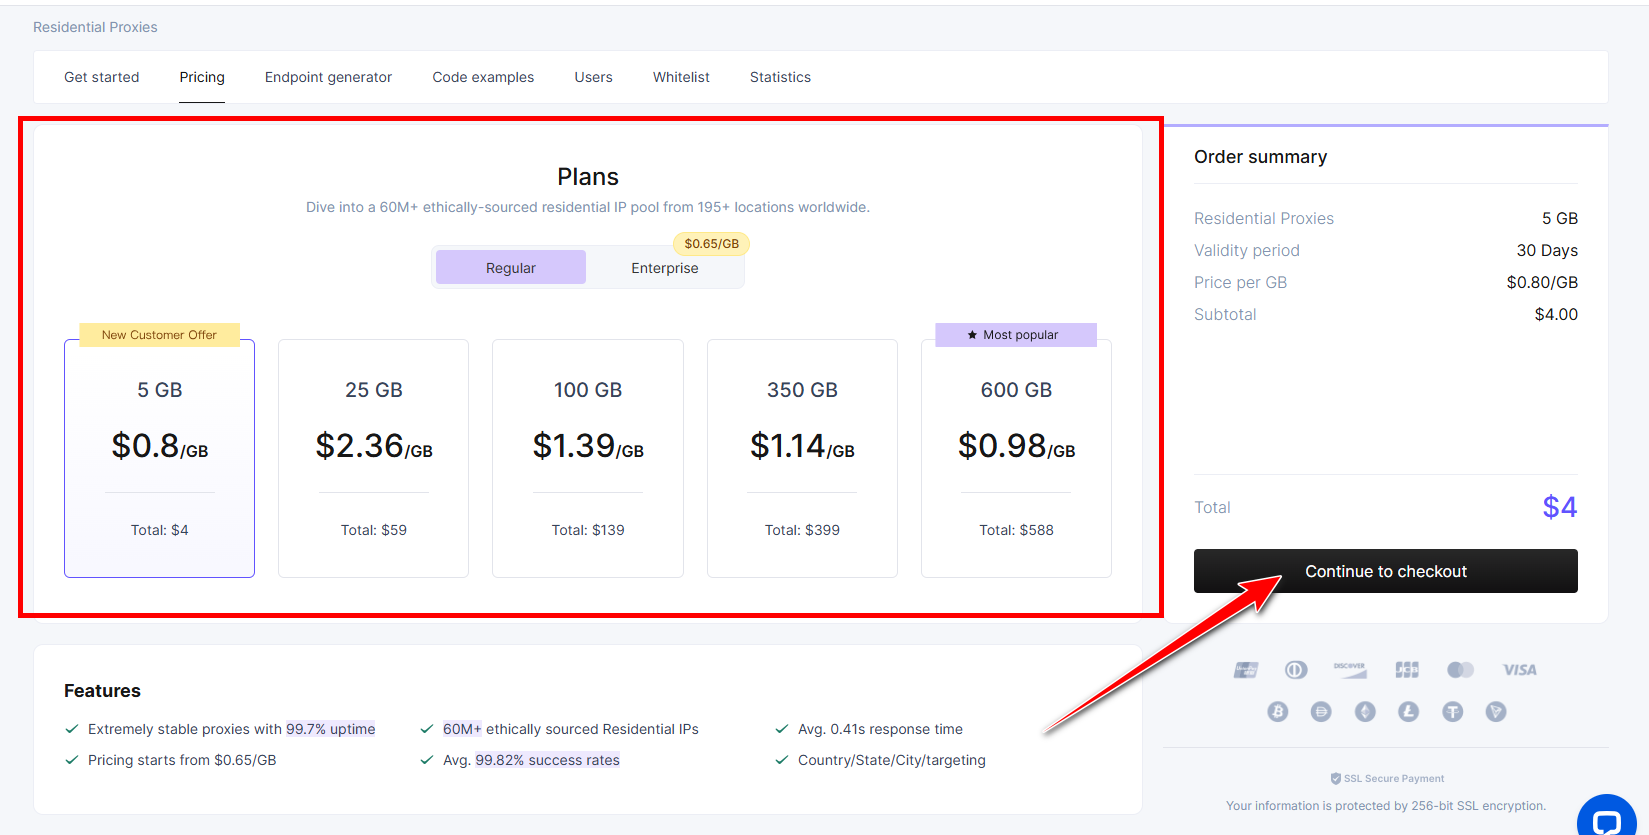
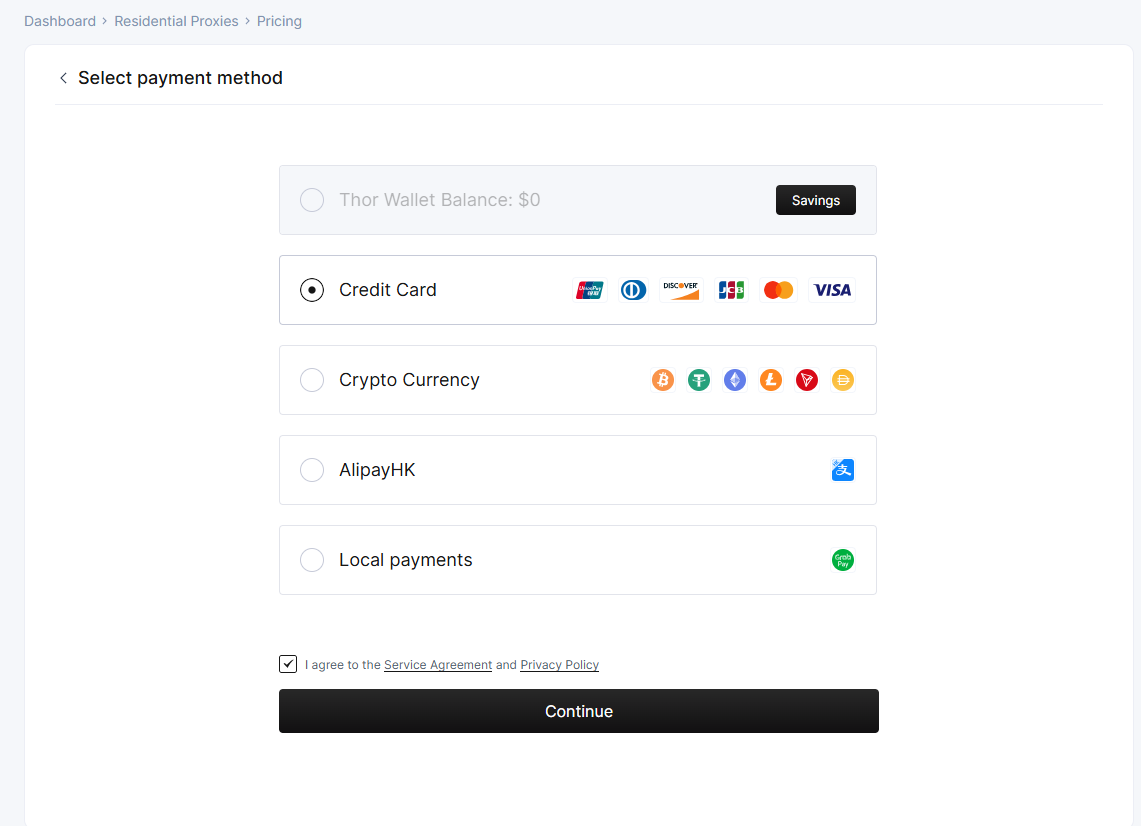
3、 Here to buy residential agent as an example, select the residential agent click [Buy Now], you can choose the agent’s flow and the number of GB according to the demand, click [Continue to checkout] to go to the settlement.
4.Copy agent information to ClonBrowser after successful payment
Step 2: Use in conjunction with ClonBrowser
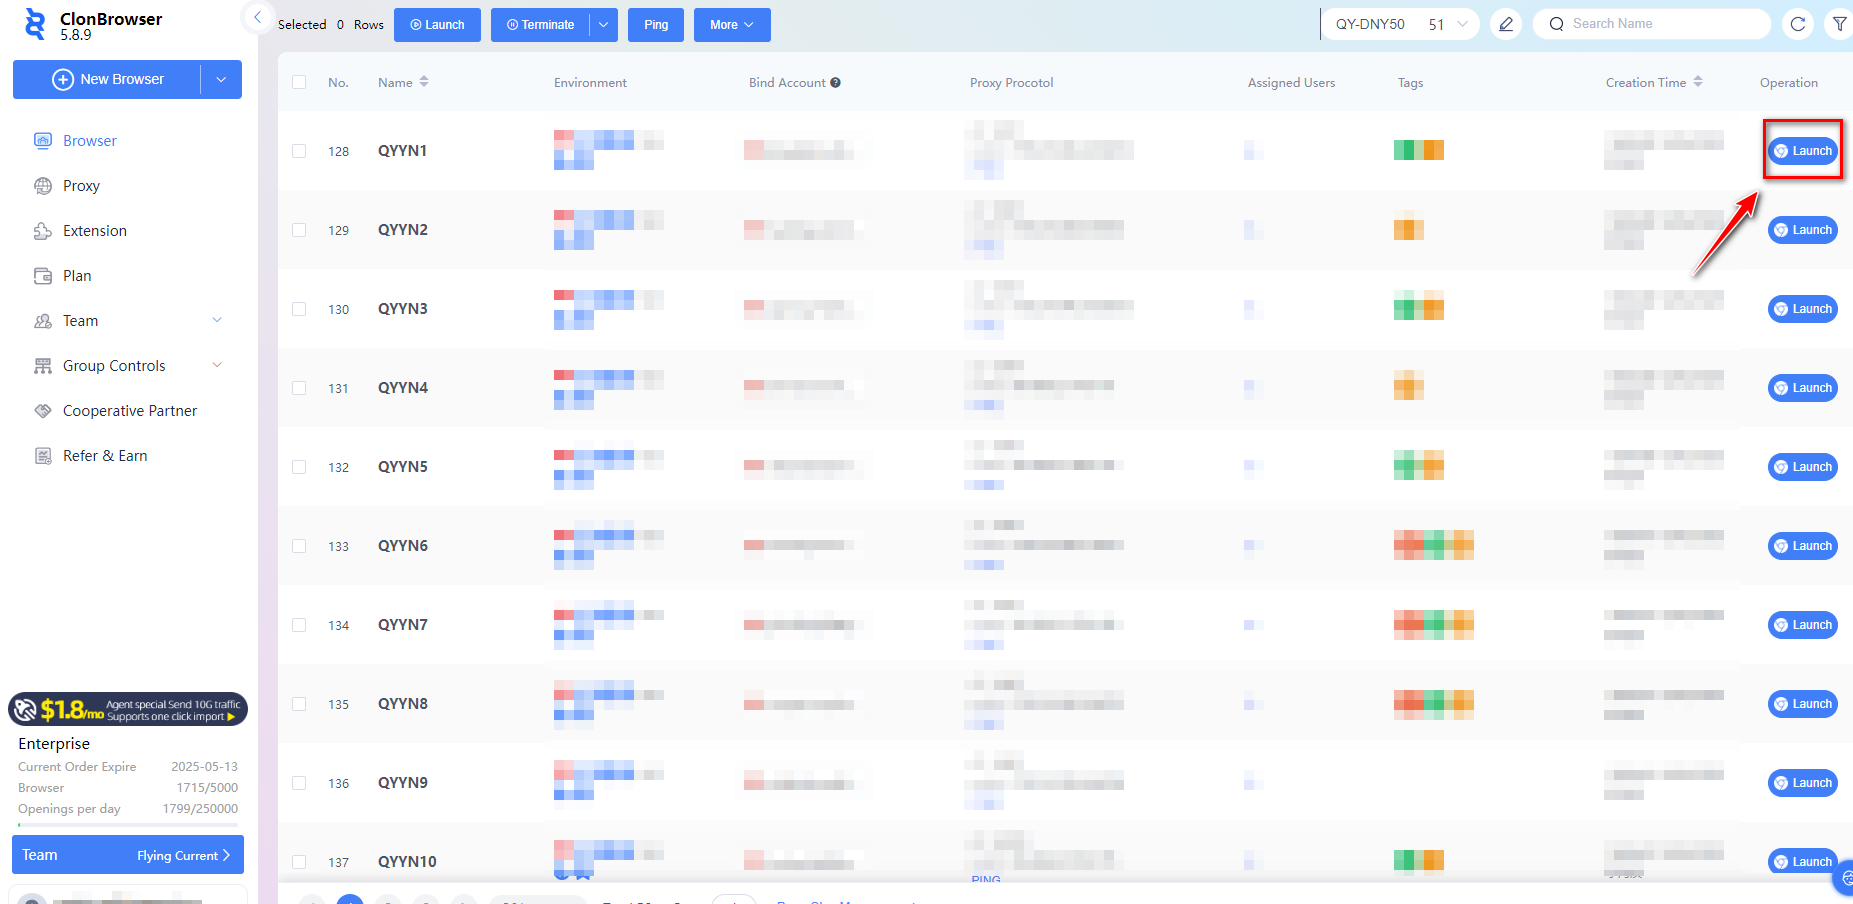
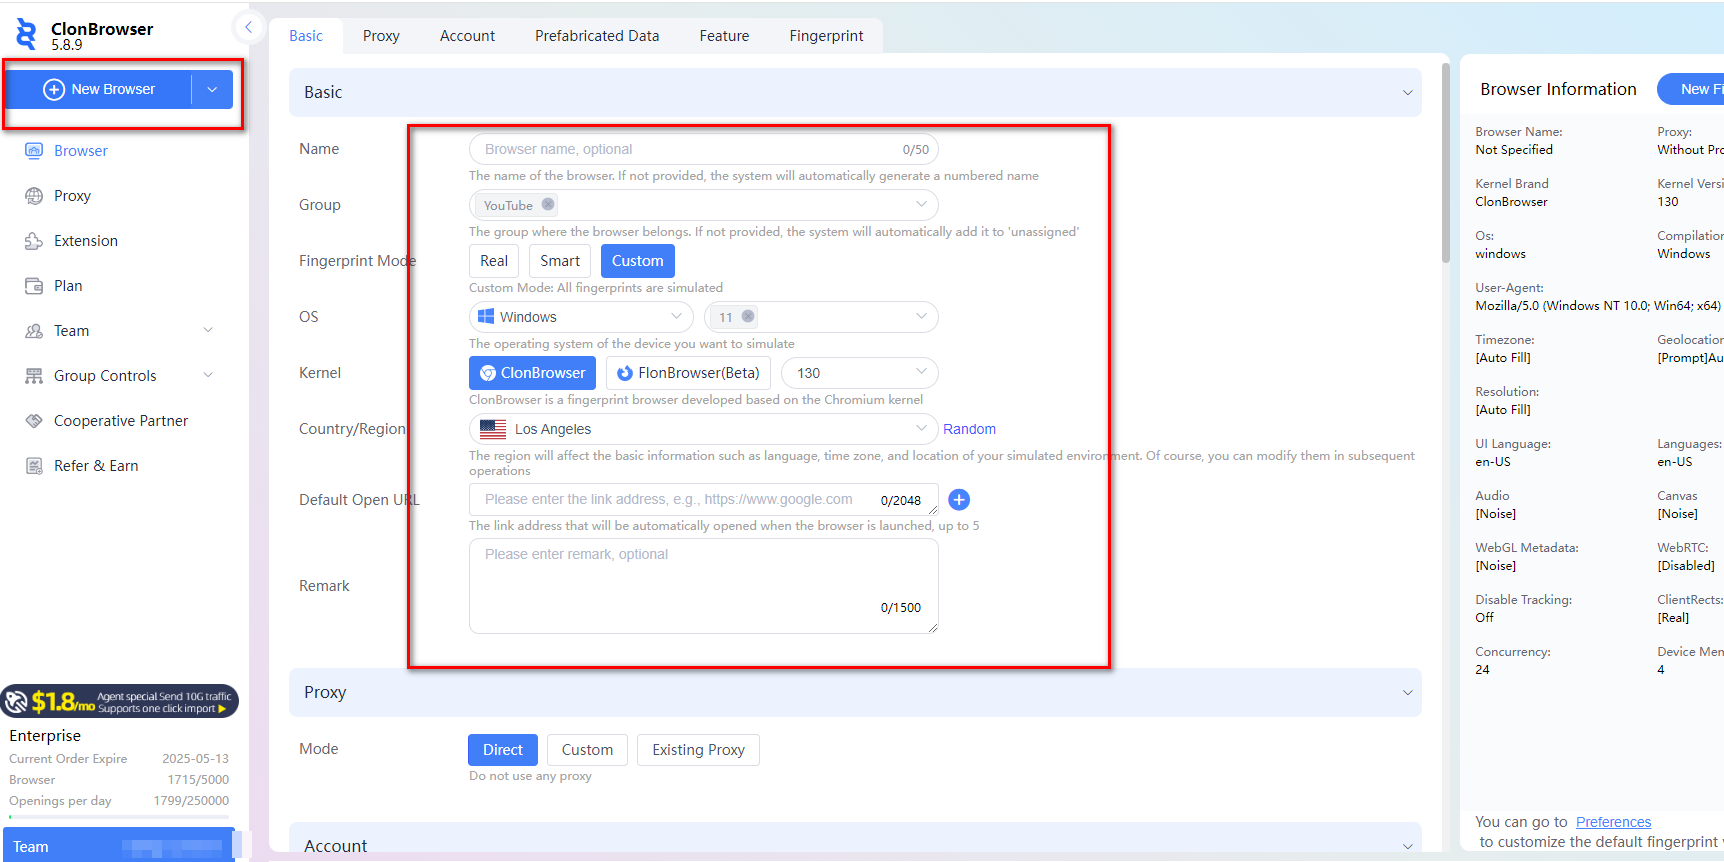
1、Click [New Browser], and in the basic settings, enter the name and other information.
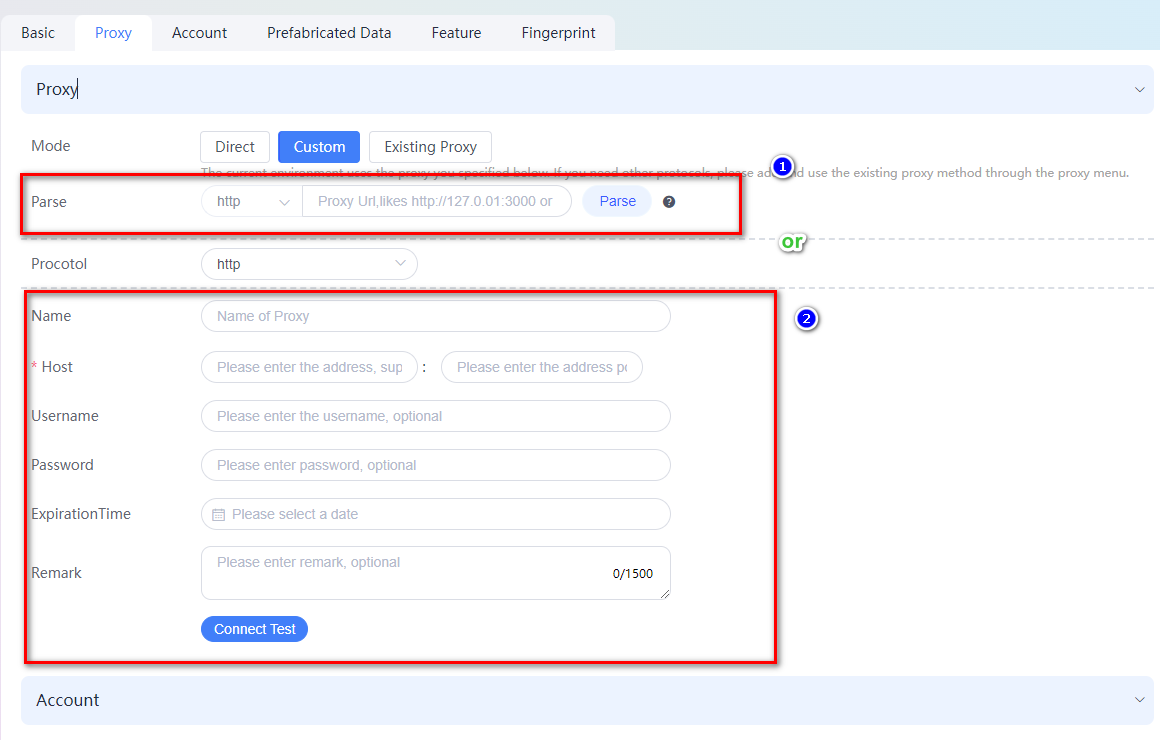
2、Select the protocol type of the proxy, then paste the proxy information into the resolution column of ClonBrowser proxy settings, click [Parse] and then IP and port numbers are automatically filled in, (or manually fill in the protocol, IP and port numbers) fill in the name of the proxy, and then click [Connect Test].
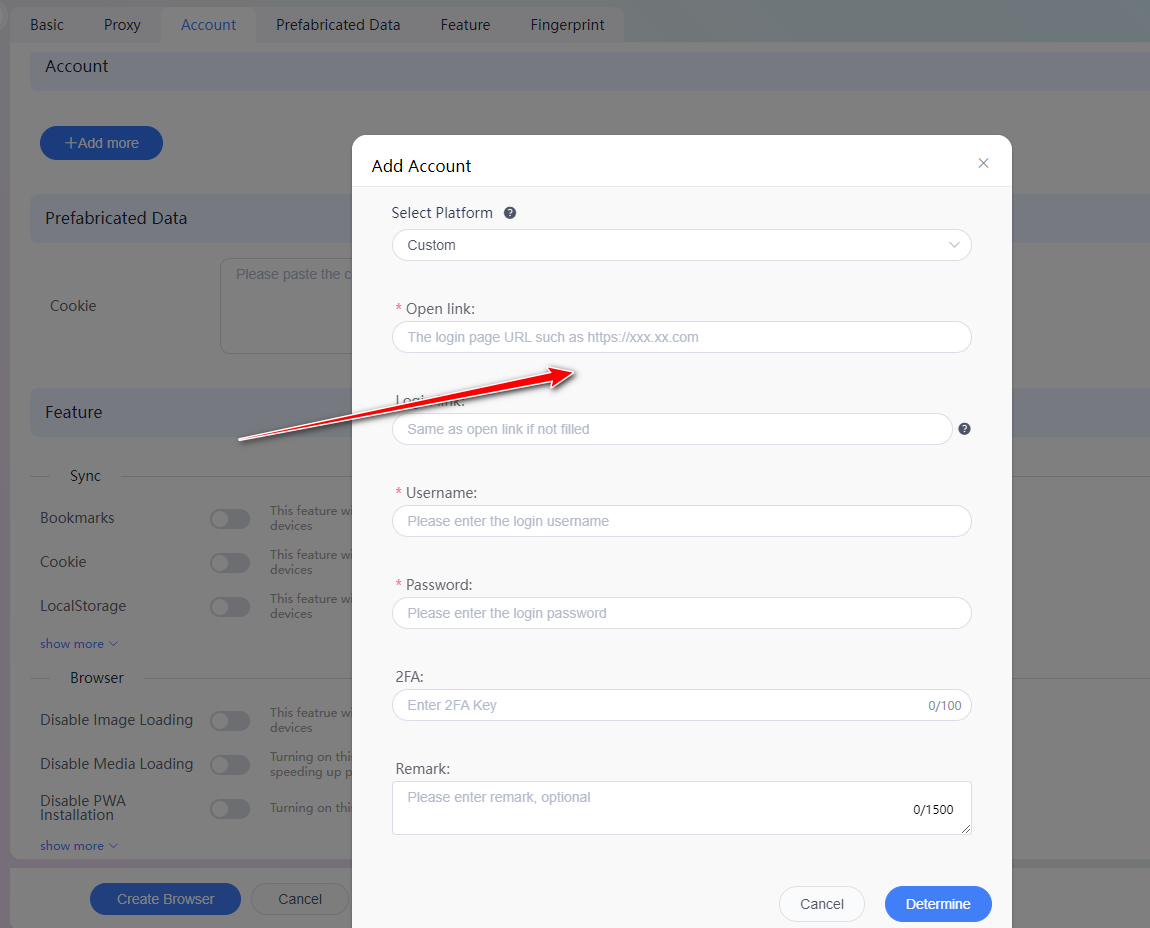
3、After a successful connection test, select Account Management to add an account and click [OK].
4、Prefabricated data, function settings and fingerprint settings can be filled in according to your needs.
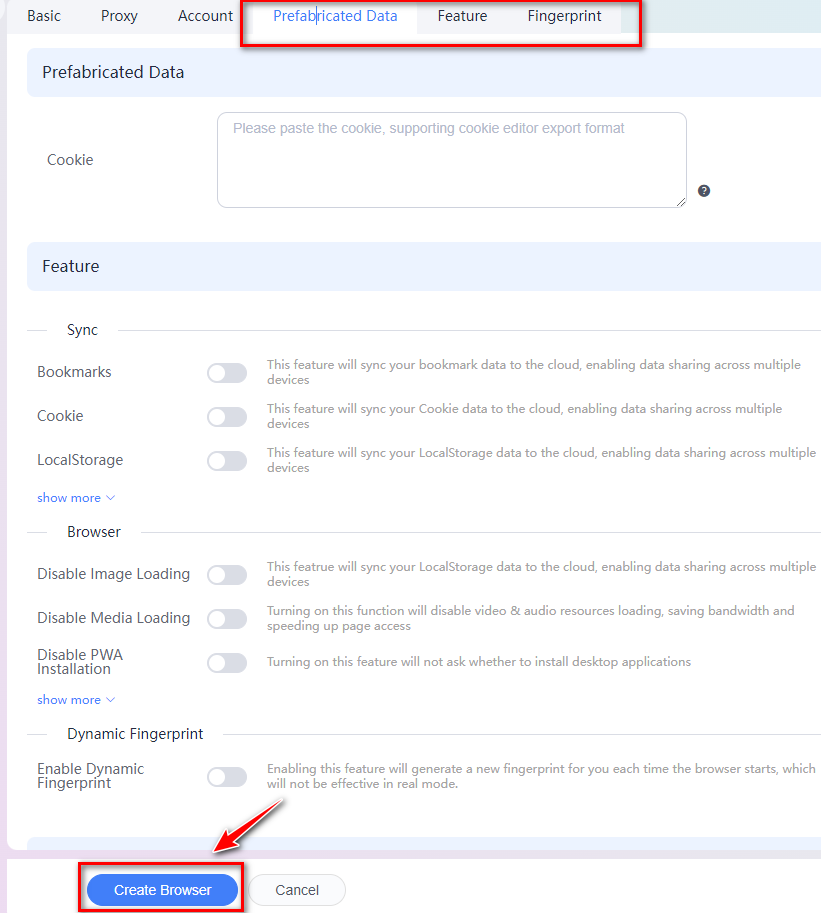
5、After filling in the information, click [Create Browser] to complete the creation of the browser, and start the browser can be used.